

A BEGINNERS GUIDE TO HOME BREW | WALLINGTON'S WRG HOME BREW
With bars and pubs forced to close their doors due to the COVID-19 Pandemic the interest in Home Brewing skyrocketed. Many people turned to home brew as a new challenging hobby and a way to experience a pub brew safely at home. Making your own beer has never been more accessible with the wide range of home brew equipment, hops and flavours available in today's market.
Brewing your own beer is also a great way to save money when it comes to your beverage budget because you can make as much or as little beer as you like.
First, you will need to get all your equipment and ingredients organised. It's no surprise that most beers anywhere across the globe start with the same four ingredients.
Malt: This is the brains behind the brew. Malt is a brewing sugar that helps infuse colour, flavour and alcohol content into your home brew.
Hops: Malt wouldn't be anywhere without the hops, these deliver the signature aroma and bitter flavour that many beer lovers rave about. Hops also act as a natural preservative to extend the life of your brew. To pick the perfect hops, check out our details listed here
Brewing Yeast: The fermentation process needs good yeast. Using high-quality brewing yeast is the key to a flavourful home brew with a lot of character.
Water: Thankfully, Australia has great quality water while is ideal for brewing and producing a very good beer.
Once you have all your equipment, it's time to start thinking about the recipe. This involves using malt extracts, hops and water to produce a beer that is similar in taste and style to commercially available beers. The great thing about brewing your own beer is that there are no set rules, You can choose any malt, hops or brewing yeast packages to make your own unique brew. So feel free to experiment until you come up with your perfect recipe.
There are a few key steps to follow when starting a new home brew. For this article, we are going to use the Mangrove Jack's Starter Brewery Kit as our example.
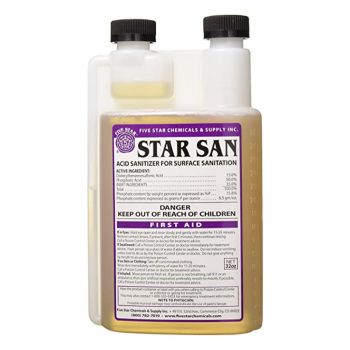
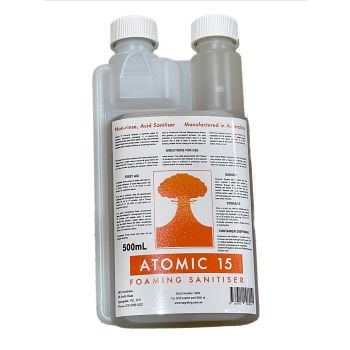
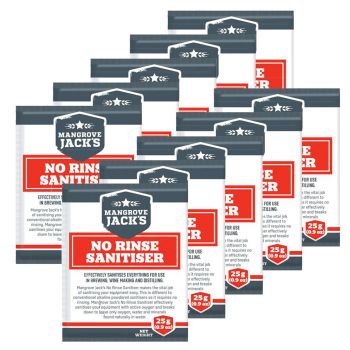
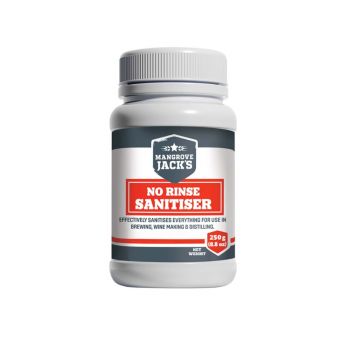
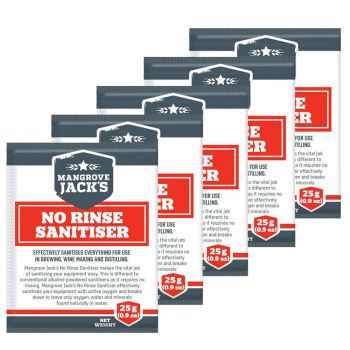
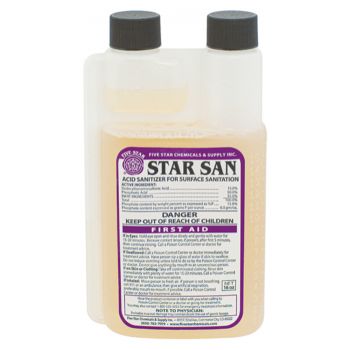
Step One: Sanitise!
It's important to sanitise brewing equipment before use to prevent any contamination and unwanted flavours from affecting your beer. One of the easiest ways to do this is by using a sanitising solution such as sodium metabisulfite powder dissolved in water. You can find a wide range of the top sanitiser products from Wallington's WRG here


Step Two: Adding The Ingredients
The first step after you sanitise all the equipment will be to put a jug of warm water onto the boil. After the water has boiled, you'll be making what they call 'Hops Tea" This is the practice of pouring the boiling water onto your chosen hops. This helps the hops rehydrate and bloom. Steep this mixture for around 15 minutes before placing it into the fermenter.
The next step is to add in your malt. To help the malt dissolve into the mixture, place some more hot water into the fermenter at the same time. Just make sure our tap is turned off so the hot liquid won't escape and land on your feet. Malt extract is made up of malted barley which is a brewing sugar. This mixture is the core ingredient that makes the alcohol in beer. It also infused the home-brewed beer with its body and colour.
The final step in the ingredients process is to add the hops tea into the mixture. After the hops have been steeping for 15 minutes you can go ahead and use a strainer to collect the hops from the water. Be sure to rinse the hops under running water before placing them into the fermenter. The cool part is seeing that the hops have swollen to about 4 times their original size. This is where the flavour of your home brewed beer will come from.


Optional Step - Higher Strength Beer
If you would like a higher alcohol content brew, this is the moment where you can add up to 1kg of malt blend. This will boost the strength of the brew to around 5% alcohol content. Be sure to add more boiling water to this mixture to dissolve the extra malt blend.
Step Three: The Fermentation
Now that you have a solid brew base, it's time to fill up the rest of the fermenter with cold water. The Mangrove Jack's system can hold up to 23 litres of water. 23 litres will roughly make around 60 bottles of beer. This equals just under three slabs of beer from the bottle-o. Despite the 23 litres max capacity, we recommend only filling it up to the 21-litre mark. This will help boost the amount of flavour in each bottle and not water down the brews.
Step Four: The Yeast Process
It's extremely important to use the highest quality brewing yeast you can get. Do not use regular baking yeast from the pantry as this will not work at all. Wallington's WRG has a wide selection of high-quality brewing yeast. Before you've added the yeast, give their whole mixture a good stiff up, then let the yeast float on top, after a while, it will start to sink and begin the fermentation process of turning those brewing sugars into alcohol.
Step Five: Let the fermentation begin
The next part of using fermentation is letting it do its thing! The yeast will eat away at all the sugars in the mix and slowly become alcoholic. Make sure the lid creates an airlock seal as you don't want those sweet fermentation bubbles to escape from the brew.
The easiest part about fermentation home brew is that you don't need to do anything more after that. The brewing yeast does all the heavy lifting for you. All you need to do is monitor the temperature. Over the next two weeks, you will start to see the bubbly foam rising on the walls of the fermentor and you'll know it's working.
After the fermentation process, it's time to test the brews alcohol levels. Within the box, you will receive a Hydrometer. Using this tool, you will be able to check the wort's density. At the end of fermentation, the reading will be lower but once you hit the desired level, it will be time for bottling.
Step Six: The Final Countdown
The final task of brewing your own beer is the bottling process. You can purchase both glass or plastic bottles, but the Mangrove Jack's kit comes with 30 PET Bottles and caps. So it's a perfect starting point for the hobby.
To start the bottling process, you'll need to use the carbonation drops found in the kit. Place one drop into each bottle you are planning to fill and once the bottle is filled and sealed, the yeast will use these new sugars to continue the fermentation process and carbonate the brew. Within two weeks the CO2 will rise and give you the perfect carbonated homebrew to enjoy.
Conclusion
Across the span of two months, you will have created your very own brew from home. You can crack a cold one with your mates and enjoy the fruits of your labour. The brewing process should take a minimum of two months from start to drinking. But you can leave it longer you leave the brew in the bottles then the better it will taste.
Want to take your home brew to the next level? Come down to Wallington's WRG and see Dan & the team in our Homebrew area. We have the equipment, knowledge and drive to help you create a brew you'll be proud of.
Can't make it into the store? NO PROBLEM! You can now book an online video call session with our staff and discusses your next home brew adventures! You can even join our Home Brew only Facebook group where Dan is sharing beer reviews, recipe ideas and other conversations